


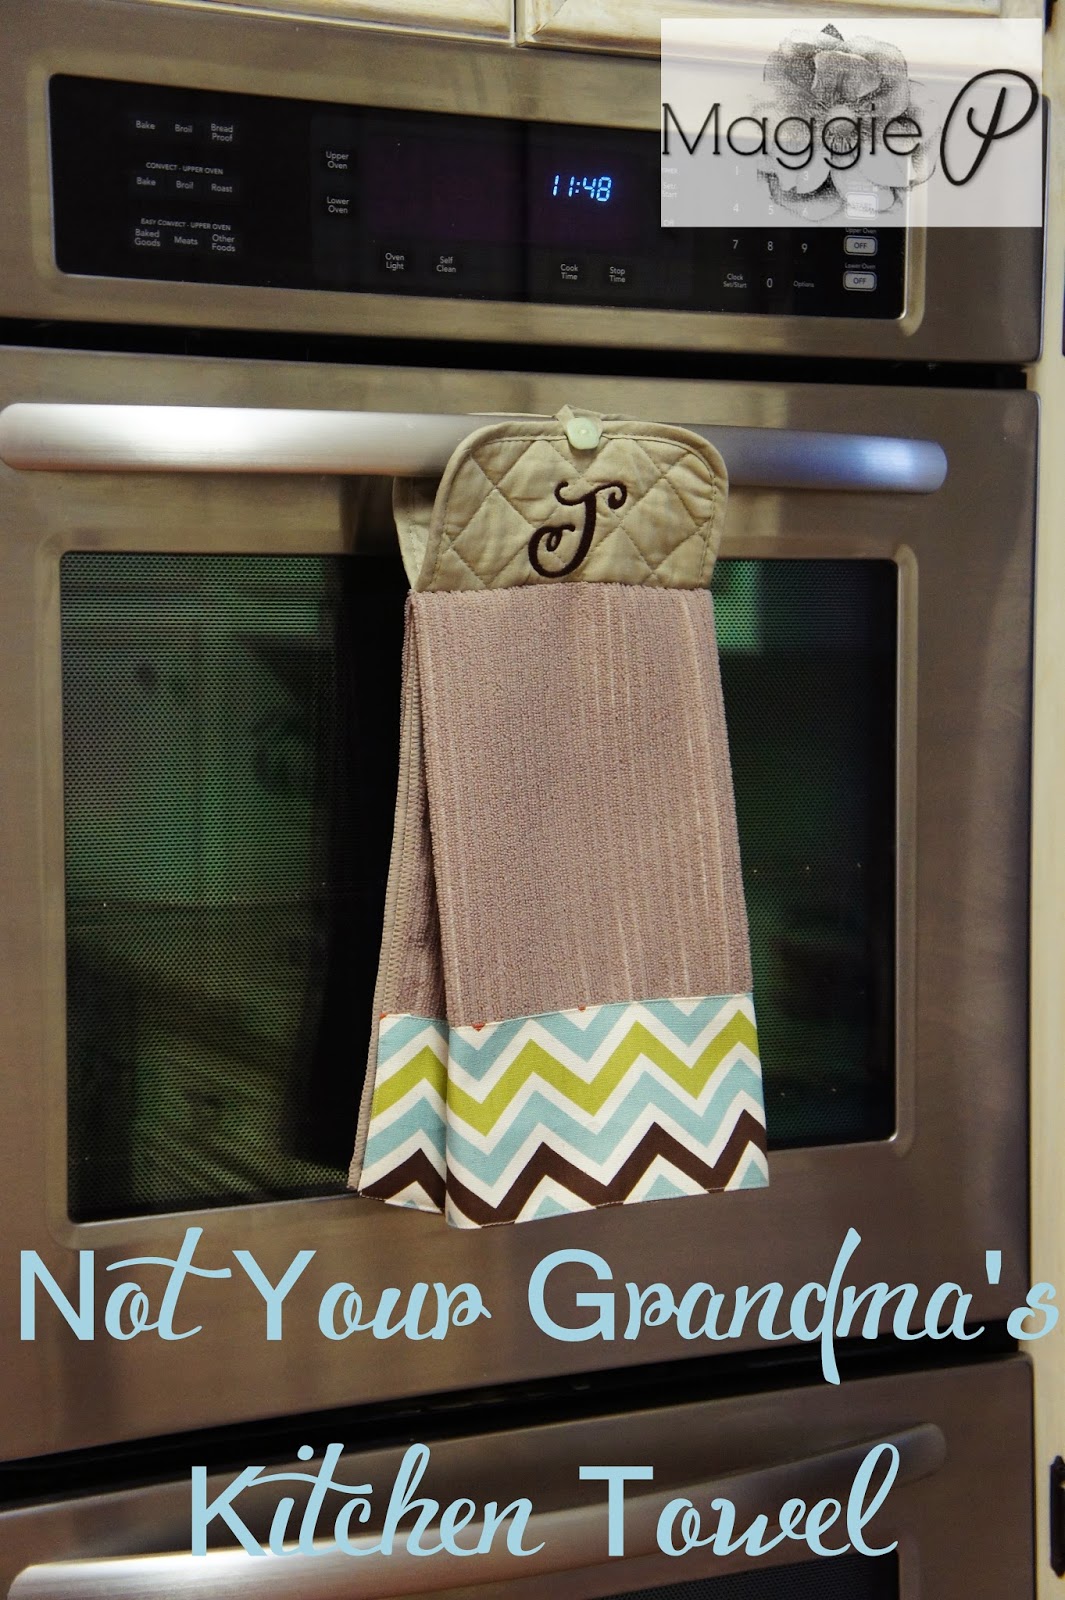
I got the pot holders at the Dollar Tree and the Microfiber towel at Fred's for 3/$5. The fabric is leftover from recovering my kitchen chairs. Didn't I show you that? Darn. You missed a great update.
Want to make one too? Great--let's gather some supplies
Supply List
thin pot holder
kitchen towel (thin, unless your sewing machine doesn't mind sewing through super thick things)
fabric scrap measuring 5" x (towel width + 1")
marking pen
ruler
button

1. If you are going to embroider on your pot holder, go ahead and to it now. I placed my initial a little too low. Oops. Notice I did the embroidery with the loop at the bottom on the right side of the pot holder.

2. Making sure that your pattern is running the way you want it (I'm notorious for sewing things on upside down), press the sides and top down 1/2" and then mark 1/2" on the right side at the bottom edge of the fabric scrap. You can do the marking before the ironing, but I use a marker that disappears with ironing, so you have to the the ironing before the marking. Or you have to go back and remark. I speak from experience.

3. Open up your side edges and align the bottom of the towel, right sides together, with mark you made (and remade) on the bottom of your fabric scrap. Pin.

4. Sew as close as you can to the bottom of the towel, making sure that your edges are still flipped open on your fabric scrap. I think my seam allowance is about 1/8".

5. Now with the right side of your towel up, turn your fabric scrap to the front, making sure your edges are turned under. Pin secure and stitch down. I went ahead and edge stitched all four sides. Press.

6. Using a disappearing fabric marker, mark on the right side of the towel both the center running horizontally and vertically. Do the same on the wrong side of the pot holder. Now lay your pot holder on the towel, right sides together, matching the centers. The loop on the pot holder will be pointing towards the bottom of the towel. Pin it secure. You can't see it too well in this picture, but your center lines run from the edge of the towel, through the pot holder, and on to the other end. I let a lot go when I had baby #3 (like colors matching perfectly, and embroidery being perfectly centered) but that doesn't mean I don't still try. I just don't always rip out and redo when something isn't perfect.

7. Flip the whole thing over, and fan fold the edges in. You will be looking at the back side of the towel, so fold the towel edges in (length wise), wrong sides together, so that the fold is even with the edge of the pot holder. Then fold the edge of the towel again so that right sides are together and the edge of the towel now runs along the side of the pot holder. The explanation is much harder than just doing it. Pin secure again.
8. At this point, flip the whole thing over again, so that you can see the markings on the pot holder back, and sew down the center (width) of the pot holder, making sure that your folded edges under there are nice and flat. Theoretically it would be easier to sew on the towel side, but you would have had to mark the center line on the back of the towel too, which is just another step, so I opt to do it this way.

9. Now fold your pot holder in half, right sides together. The towel should be hanging underneath, and the loop should be on the back side. Sew your button on the front of the pot holder and you're done!

Now if only I knew someone whose last name starts with B and whose color scheme is black and tan. Hmmm.
Hope you enjoy! Let me know if you have any questions, and if you think this is totally lame, please keep such comments to yourself. I have enough stress in my life.
No comments:
Post a Comment
I would love to hear from you!